
Exporting
You can turn a take into a WAV audio file, with the song or with just the drums, and save it to Files or share it.
Before you export
- Choose the take you want to export. See Takes and versions.
- The playback switch must be on.
- You can't export while recording.
If no take is selected, or if you're recording, you'll see Select a recording before exporting.
Exporting step by step
- Tap Export, the last button in the column on the right. If the song was playing, it stops.
- In Choose what to export, pick an option and tap Continue.
- Type the file name and tap Export.
- Wait while Exporting… is shown. You can tap Cancel at any time.
- In Export ready, choose what to do with the file.
What to export
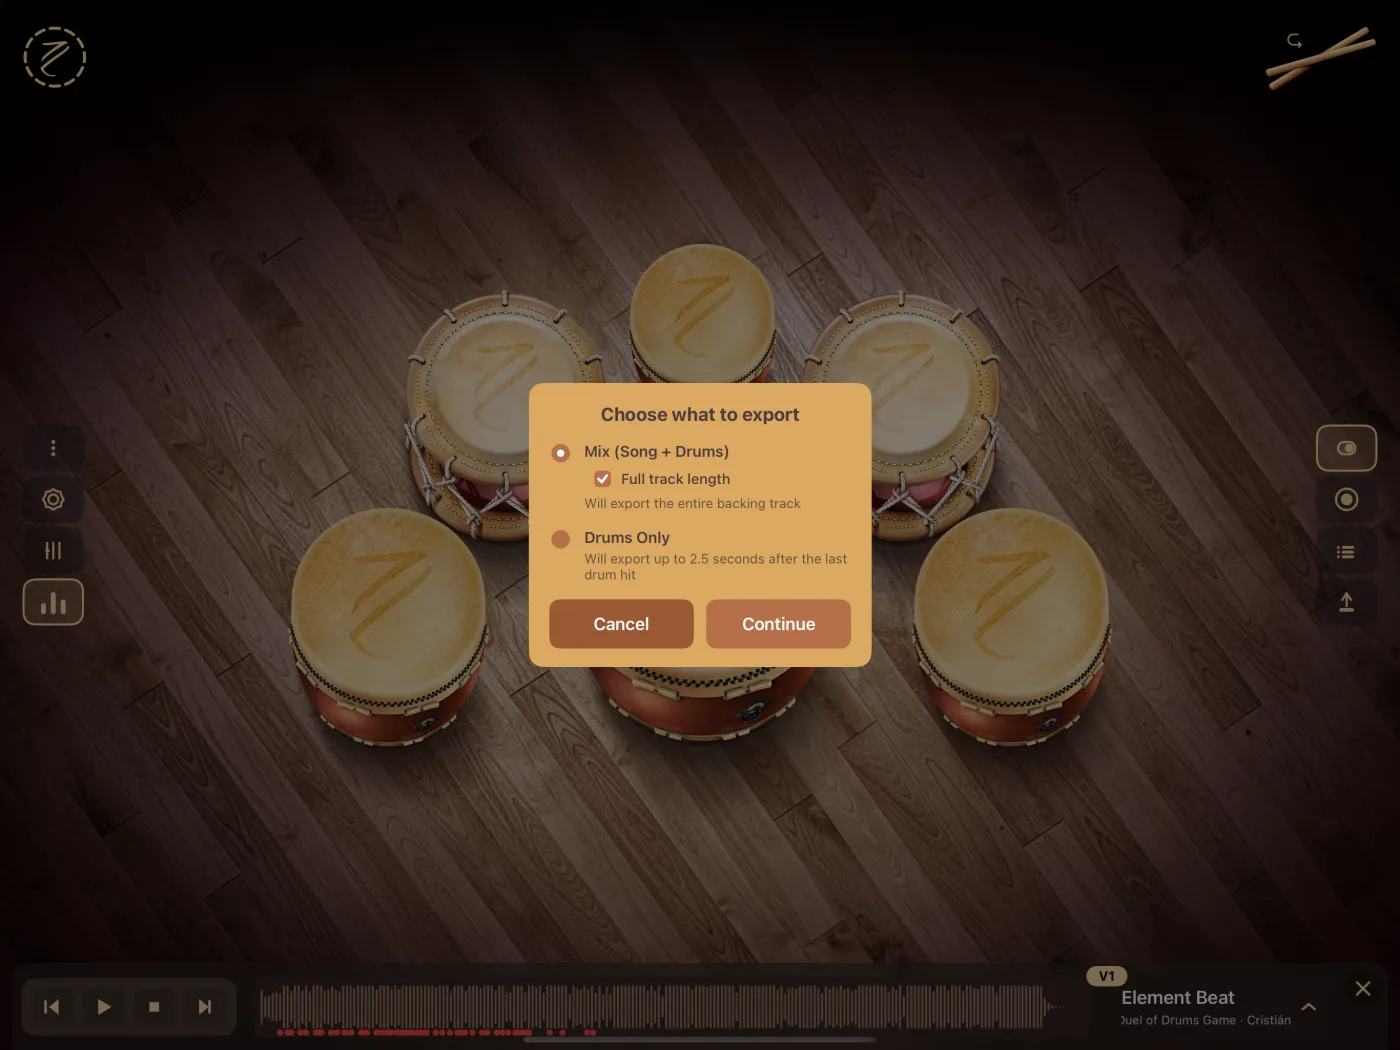
Mix (Song + Drums)
It's selected when the dialog opens. The file has the song and your drums together.
Below it is the Full track length checkbox (checked at first):
- Checked: Will export the entire backing track. The file lasts the whole song. If your last hit is very close to the end, the file runs a little longer so that hit isn't cut off.
- Unchecked: Will export up to the last drum hit. The file ends shortly after your last hit, to let it ring.
Drums Only
Will export up to 2.5 seconds after the last drum hit. The file has only your drums, without the song, and starts at the same point as the song, so you can place it in your audio editor next to the original song and they stay in time.
The Full track length checkbox has no effect with this option.
Volume and sound
- The drum and song volumes you set in the Mixer are used.
- All hits in the file use the Simple or Flam mode that is active when you export, even if you switched modes during the take. Before exporting, leave the mode you want to hear selected. See Flam.
- The file sounds dry: it doesn't include the reverb you hear when you play in the app.
- The app moves the hits earlier by the device's audio delay so the file stays in time with the song. See Takes and versions.
File name
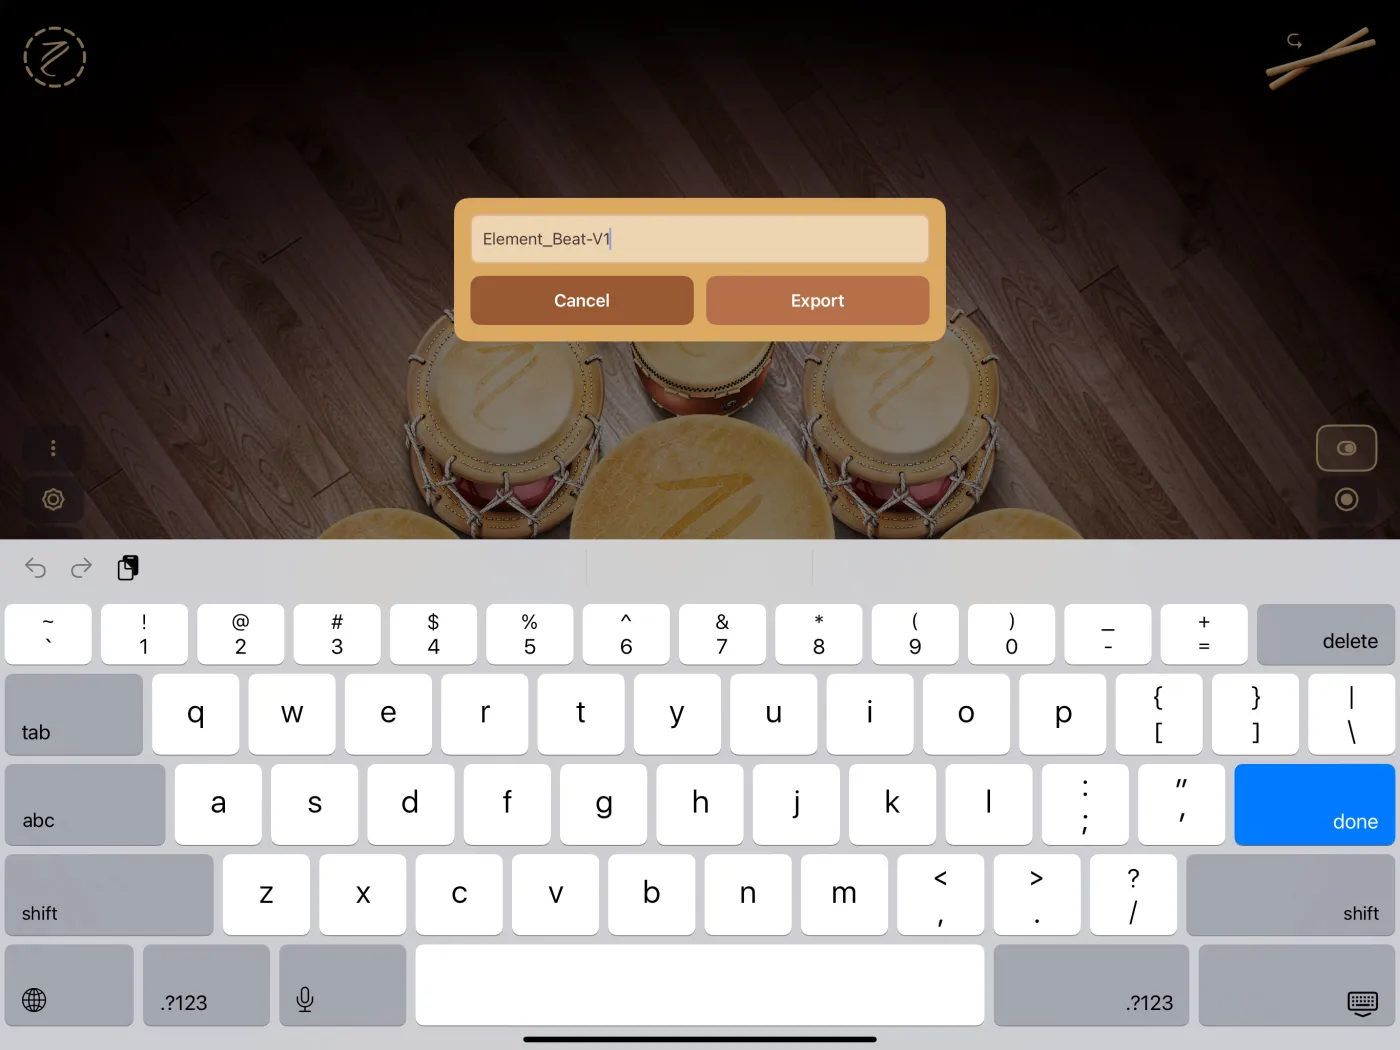
The app suggests a name with the song title and the version, for example Element_Beat-V2. You can change it.
- Use letters without accents, numbers, hyphen (
-), underscore (_) and spaces. Any other character (accents, ñ, periods, slashes, emoji) is replaced with a hyphen. - Don't type the extension: the app adds
.wav. - If you leave the name empty, the field shakes and doesn't continue.
Tap Export (or the keyboard's return key) to start, or Cancel to leave.
Save or share
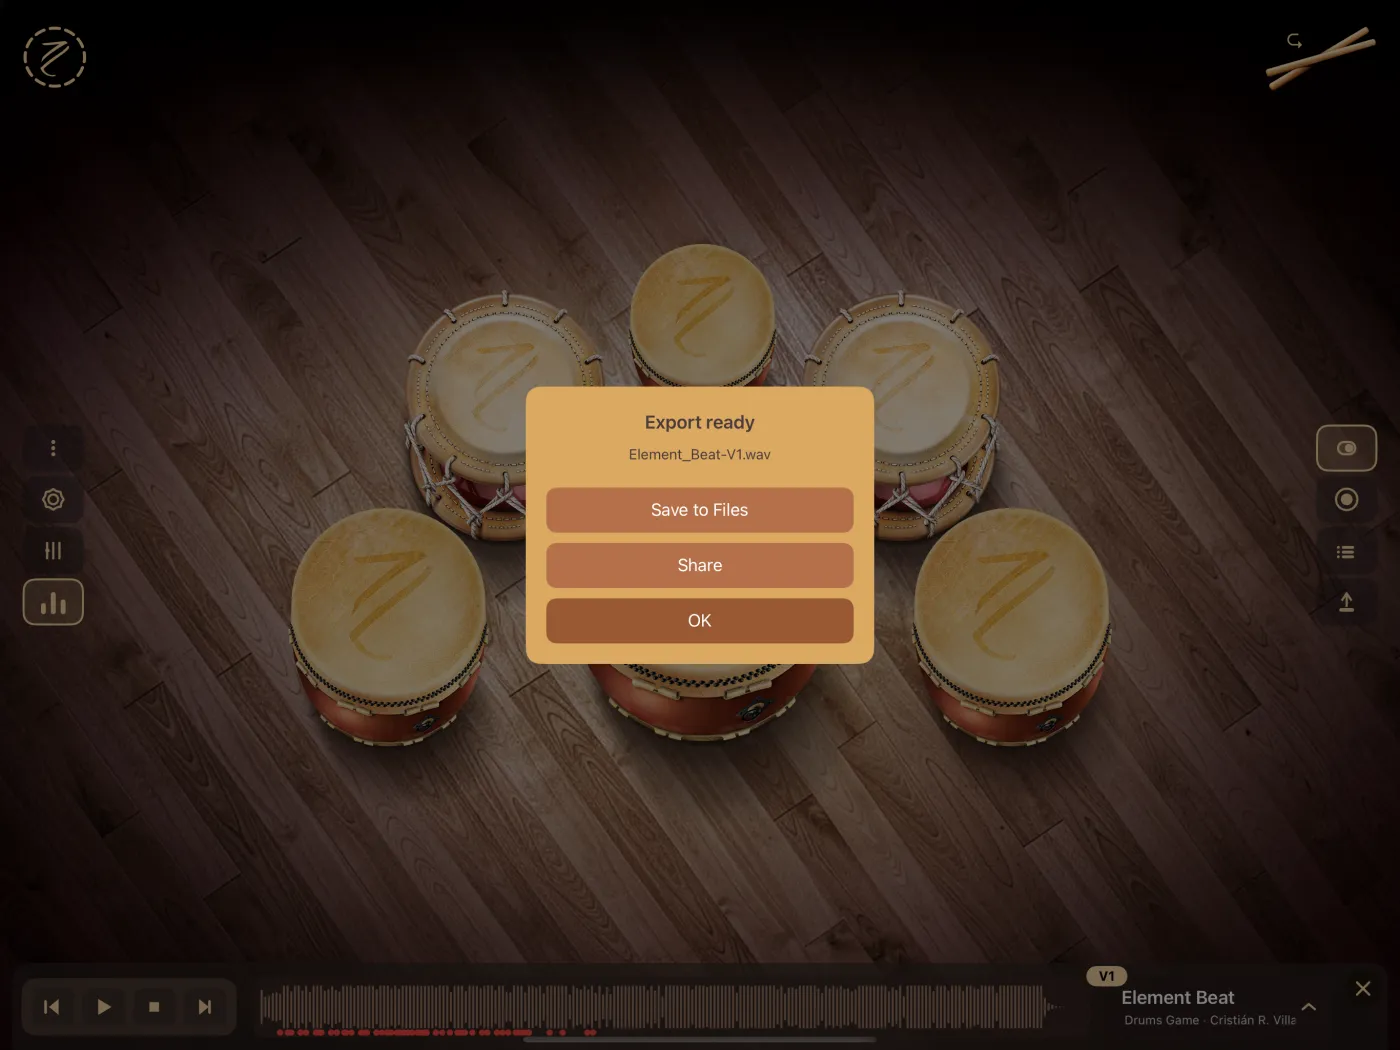
When it finishes, Export ready shows the file name and three buttons:
- Save to Files: choose a folder in the Files app (on the device, iCloud Drive or another service) and save a copy.
- Share: opens the iOS share sheet to send it via AirDrop, Mail, Messages or another app. The message that goes with the file shows the app name, its version and the file name.
- OK: closes the dialog.
The exported copy doesn't show up in the Files app on its own. If you tap OK without saving or sharing, you can export the take again whenever you want.
Format
The file is uncompressed WAV. The sample rate depends on the device's audio output at that moment.
If something goes wrong
| Message | What happened |
|---|---|
| Select a recording before exporting. | No take is selected, or you're recording. |
| Turn on the switch to listen or manage recordings. | The playback switch is off. |
| Export Cancelled | You tapped Cancel during the export. |
| Export failed. | The file couldn't be created. With Mix, it also shows up if the app can no longer find that take's song. Try Drums Only. |
If the problem continues, see Troubleshooting.